How to Make Kettle Corn at Home
Kettle corn is one of those treats that feels like it belongs at a fairground or festival—sweet, salty, and impossibly crunchy, with that distinct light glaze that makes it hard to stop eating. The good news is that you don’t need a giant concession trailer to enjoy it. With a heavy pot, a few pantry ingredients, and a little technique, you can make authentic-tasting kettle corn in your own kitchen. This guide walks you through the ingredients, the step-by-step method, the tools that work best, the mistakes to avoid, and even how to scale up if you’re thinking about turning kettle corn into a business.
What Is Kettle Corn, Exactly?
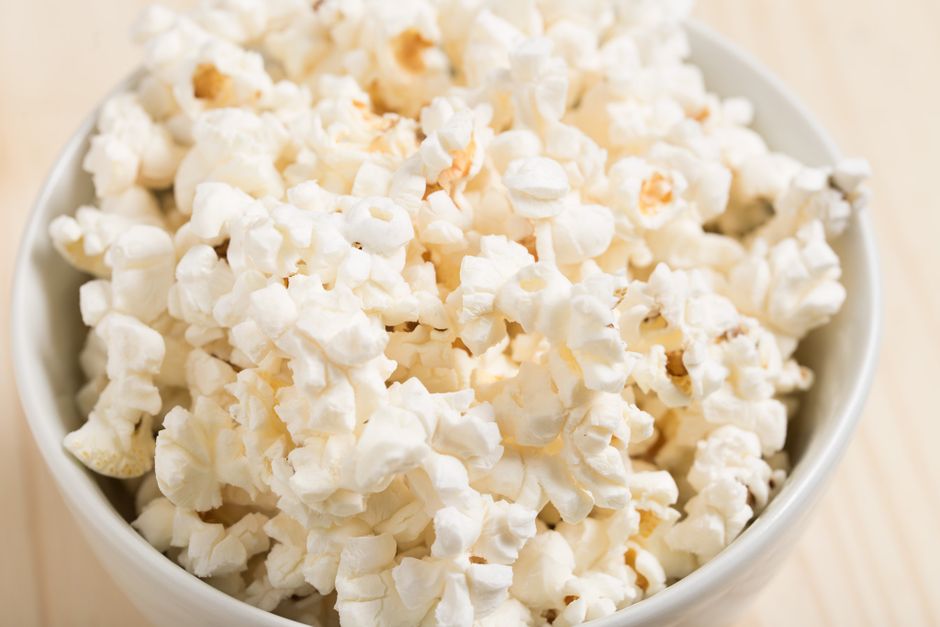
Kettle corn is popcorn cooked in a combination of oil, sugar, and salt. Unlike caramel corn, which is coated in a cooked syrup after popping, kettle corn gets its sweetness during the popping process itself. The sugar melts into the hot oil, and as the kernels pop, they catch a thin, even layer of that sweet-salty glaze.

The result is lighter than caramel corn but noticeably different from plain popcorn: slightly sweet, lightly salty, and crisp rather than sticky. Traditional kettle corn is made in large cast-iron or aluminum kettles over an open flame, stirred constantly with a long-handled paddle. At home, the same principle applies—just on a smaller scale.
The Ingredients You’ll Need
Kettle corn recipes are simple, but the ratios and the type of ingredients matter more than you might expect. Here’s what to gather:
- Popcorn kernels: About 1/3 cup of mushroom-style or standard yellow popcorn kernels yields roughly 6 to 8 cups of popped corn. Mushroom kernels hold up slightly better to stirring, but regular kernels work fine.
- Oil: Use 2 to 3 tablespoons of a neutral oil with a high smoke point, such as refined coconut oil, canola, or vegetable oil. Coconut oil is traditional and adds a subtle richness.
- Sugar: Use 2 to 3 tablespoons of plain white granulated sugar. Don’t substitute brown sugar or honey—they burn too quickly at popping temperatures.
- Salt: About 1/2 teaspoon of fine salt, added to the oil rather than sprinkled on afterward, so it distributes evenly.
That’s it—four ingredients. No corn syrup, no specialty coating, no fancy equipment required.
Step-by-Step: Making Kettle Corn on the Stove
This stovetop method works with a large, heavy-bottomed pot with a lid—ideally at least 5 to 6 quarts, since popcorn needs room to expand.

- Preheat the pot and oil. Add the oil to the pot and set it over medium-high heat. Drop in two or three test kernels. When they pop, the oil is ready.
- Add sugar and salt, then the kernels. Working quickly, stir the sugar and salt into the hot oil until it dissolves slightly, then pour in the kernels and stir to coat everything evenly.
- Cover and shake. Put the lid on and give the pot a good shake every 10 to 15 seconds, keeping it moving over the heat. This prevents the sugar from settling and burning on the bottom.
- Listen for the popping to slow. Once the pops slow to about one every two or three seconds, remove the pot from the heat immediately. Residual heat will finish the last kernels.
- Turn out and cool. Pour the popcorn onto a parchment-lined baking sheet or into a large bowl, spreading it out so it doesn’t steam and get soggy. Toss gently and let it cool for a few minutes—it crisps up as it cools.
Timing is the single most important variable. Sugar scorches fast at popping temperatures, so stay by the stove and don’t walk away.
Tools That Make Home Kettle Corn Easier
You can absolutely make great kettle corn with a stockpot and a lid, but a few tools improve consistency. If you want a deeper look at the hardware options, this complete guide to specialty popcorn equipment covers the full range of machines and accessories.
A heavy-bottomed pot or Dutch oven
Even heat distribution is critical because sugar burns easily. A thin pot creates hot spots. Cast iron or a thick stainless-clad pot is ideal for home batches.
A stovetop or countertop popcorn popper with a stirrer
Stirring-style poppers—the kind with a rotating arm inside a lidded kettle—are essentially scaled-down versions of the commercial machines used at fairs. They handle the sugar-oil mixture more evenly than hand-shaking a pot, which means fewer burnt batches and more consistent glaze.
A large heatproof bowl and parchment
Cooling and spreading the popcorn quickly is what keeps it crisp. Have your landing spot ready before the kernels start popping.
For larger batches or events
If you’re making kettle corn for a party, a school fundraiser, or a market stall, small batches on the stove become impractical fast. This is where dedicated equipment earns its keep. Commercial kettle corn machines are built to pop larger volumes quickly, with consistent heat and built-in stirring that produces that classic fairground flavor at scale.
Common Mistakes and How to Avoid Them
Burning the sugar
This is the number-one failure. Causes include heat that’s too high, not shaking or stirring enough, and using too much sugar. Stick to the recipe ratio and keep the pot moving.
Adding sugar at the wrong time
If you add sugar after the kernels have already started popping, it won’t distribute evenly and can clump. Add it to the hot oil before the kernels go in.
Using too little oil
Oil does two jobs: it pops the corn and it carries the sugar. Skimping leads to dry, unevenly coated popcorn. Two to three tablespoons per 1/3 cup of kernels is a reliable ratio.
Letting it sit covered
Popcorn left in a lidded pot steams and loses its crunch. Spread it out immediately after popping.
Substituting ingredients
Brown sugar, honey, and maple syrup all burn before the kernels finish popping. Regular white sugar is the right choice.
Flavor Variations to Try
Once you’ve mastered the classic version, the base recipe is a great canvas:
- Cinnamon sugar kettle corn: Add a half teaspoon of cinnamon to the sugar before popping.
- Spicy-sweet: Add a pinch of cayenne or chili powder to the salt.
- Vanilla: A few drops of vanilla extract stirred into the oil adds warmth.
- Brown butter: Drizzle melted browned butter over the finished popcorn and toss.
- Salted caramel style: Finish with flaky sea salt for a more grown-up flavor.
Keep additions modest. Too much liquid or extra sugar will throw off the popping balance.
Storing Kettle Corn So It Stays Crisp
Kettle corn is best within the first day or two. Store it in an airtight container at room temperature—never in the refrigerator, where humidity will soften it. If it does lose its crunch, a few minutes spread on a baking sheet in a low oven (around 250°F) can revive it. For events, pop in batches as close to serving time as possible for the best texture.
From Home Kitchen to Concession Business
Many successful kettle corn vendors started exactly where you are now: making batches on a stove, learning the ratios, and perfecting their technique. If you’re considering scaling up—for farmers markets, festivals, fundraisers, or a full concession business—the equipment matters as much as the recipe. Our event food vendor startup guide walks through the planning and equipment decisions involved in getting a stand off the ground.
Commercial kettle corn poppers are designed to deliver even heat, consistent stirring, and fast batch times, which is what allows vendors to serve a crowd without burning batches or falling behind. Modern aluminum kettle machines also give customers something to watch, turning popping into a bit of a show. At Kettle Corn Machine Company, we manufacture kettle corn poppers, equipment, and accessories built for exactly this kind of growth—and we’ve helped popping businesses get started across the USA, Europe, Australia, Japan, Mexico, and beyond. If you’re ready to take your home recipe public, exploring commercial grade popcorn cookers is a good next step.
Conclusion
Making kettle corn at home comes down to four ingredients, a heavy pot, and a bit of attention at the stove. Get the oil hot, add sugar and salt before the kernels, keep everything moving, and pull the pot the moment the popping slows. With a little practice, you’ll turn out batches that taste every bit as good as the fairground version—and once you’ve nailed the technique, you’ll have a skill that can scale from a movie-night snack to a real concession business.
