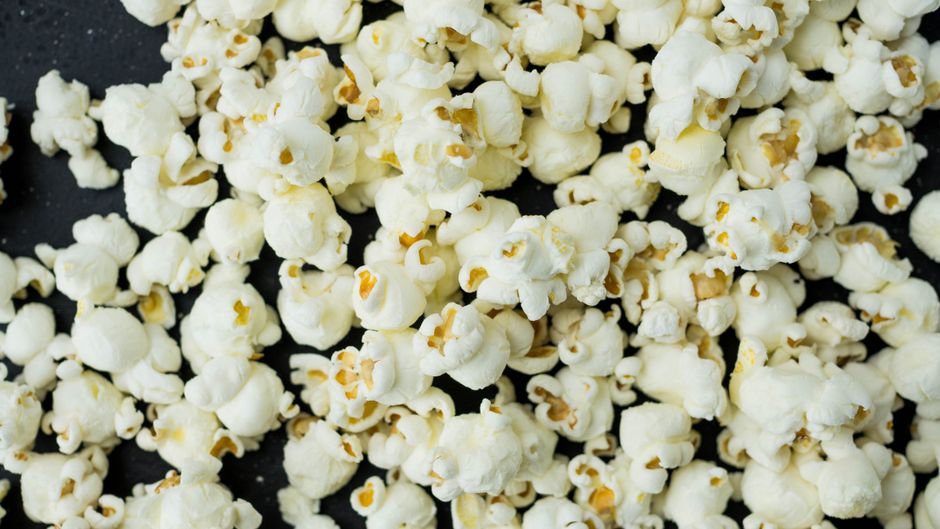
Homemade Kettle Corn on the Stove Top
Kettle corn is one of those snacks that feels like a fairground treat but is surprisingly simple to make at home. All you really need is popcorn kernels, oil, sugar, and salt, plus a heavy pot with a lid and a bit of patience. The sweet-and-salty contrast, the light crunch, and the fresh warmth straight from the stove make homemade kettle corn hard to beat.
This guide covers everything you need to know: the ingredients, the right equipment, a reliable step-by-step method, troubleshooting tips, flavor variations, storage advice, and what changes when you scale up from a home kitchen to a concession setup. Whether you are making a batch for movie night or exploring the idea of selling kettle corn at events, the fundamentals are the same.
What Is Kettle Corn, and Why Make It at Home?
Kettle corn is popcorn cooked with oil, sugar, and salt in a single vessel. Unlike caramel corn, which is coated after popping, kettle corn gets its glaze during cooking. The sugar dissolves into the hot oil and coats the kernels as they pop, creating that signature thin, sweet shell with a savory finish from the salt.

Making it at home has real advantages. It costs very little per batch, takes only a few minutes of active work, and lets you control the sweetness, salt level, and oil you use. Store-bought kettle corn is often made hours or days earlier and can taste stale or overly sweet. A fresh stovetop batch is crisp, warm, and fragrant.
It is also a forgiving recipe. Once you understand the ratio of kernels to sugar and oil and how the heat behaves in your particular pot, you can repeat the result consistently and adjust it to your taste. For a deeper look at what kettle corn is and how it differs from other popcorn styles, a complete guide is a helpful companion.
Ingredients and Equipment You Need
The core ingredients
- Popcorn kernels: Use plain yellow or white popping corn. Mushroom-style kernels are larger and sturdier, while butterfly kernels are lighter and more delicate. For stovetop kettle corn, either works, though many home cooks prefer a mid-size kernel that pops evenly.
- Oil: A neutral, high-smoke-point oil such as refined coconut oil, canola, or vegetable oil. Coconut oil is traditional in kettle corn and adds a subtle richness.
- Sugar: Granulated white sugar dissolves and coats most evenly. Avoid coarse or dark sugars for the main batch, as they can burn before the kernels pop.
- Salt: Fine salt dissolves into the coating; a flaky finishing salt adds texture at the end.
The right pot
A heavy-bottomed pot with a tight-fitting lid is essential. Cast iron, heavy stainless steel, or a thick aluminum pot all work well. Thin pots heat unevenly and increase the risk of scorching the sugar. A pot that holds roughly 6 to 8 quarts gives kernels room to pop without overflowing. You will also want a long-handled spoon or spatula for stirring, a large bowl for serving, and oven mitts, since the pot and lid get very hot.

Optional but helpful
- A lid with a small vent hole, or the ability to crack the lid slightly, to release steam
- A large rimmed baking sheet for cooling and spreading the popcorn
- A thermometer if you want to monitor oil temperature precisely
Step-by-Step: Stovetop Kettle Corn Recipe
This method makes roughly 8 to 10 cups of finished kettle corn, depending on the pot and kernel size. If you prefer a written sweet, salty, and simple kettle corn recipe, you can follow along with that version while using this method.

Ingredients
- 1/3 cup neutral oil or refined coconut oil
- 1/2 cup yellow or white popcorn kernels
- 1/4 cup granulated sugar
- 1/2 to 3/4 teaspoon fine salt, plus more to taste
Method
- Preheat the pot. Place a large, heavy pot over medium heat and add the oil. Let it heat for about a minute. If you use a thermometer, aim for roughly 350 to 375°F (175 to 190°C).
- Test the oil. Drop in two or three kernels. When they pop, the oil is ready.
- Add the kernels and sugar. Pour in the remaining kernels, then sprinkle the sugar and salt evenly over the top. Stir briefly to combine. Do not stir vigorously once the sugar is in, as this can encourage clumping.
- Cover and shake. Put the lid on and shake the pot gently every 15 to 20 seconds to keep the kernels moving and prevent the sugar from burning on the bottom.
- Listen for the pop. The kernels will begin popping within a minute or two. Keep shaking periodically. The popping will build to a rapid pace, then slow.
- Stop at the right moment. When the pops slow to about one every two or three seconds, remove the pot from the heat immediately. Overcooking is the most common cause of burnt sugar and bitter kettle corn.
- Turn out and season. Pour the popcorn onto a large baking sheet or into a wide bowl. Sprinkle with a little extra salt while still warm, toss gently, and spread it out to cool. It will crisp further as it cools.
One important note: sugar burns quickly at high heat. If you notice a scorched smell before the popping slows, remove the pot from the heat right away and transfer the popcorn to a cool surface. A slightly lighter batch is always better than a burnt one.
Tips for Consistent Results and Troubleshooting
Small variables make a big difference with stovetop kettle corn. Keep these points in mind:
- Keep the sugar-to-kernel ratio modest. Too much sugar leads to clumps and burning. A quarter cup of sugar to half a cup of kernels is a good starting point; adjust slightly to taste.
- Stir just enough. Constant stirring can cause sugar to crystallize and clump. A gentle shake every so often is usually sufficient.
- Watch your heat. Medium heat is safer than high heat. If your stove runs hot, reduce the setting or move the pot to a smaller burner.
- Dry kernels matter. If your popcorn has been stored in a humid spot, it may pop unevenly. Keep kernels in an airtight container.
- Do not overcrowd the pot. A single layer of kernels with a little room to move is ideal. If you want more, make two batches rather than one large one.
- Cool completely before storing. Trapped steam makes kettle corn soggy.
Common problems and fixes
- Burnt or bitter taste: Heat was too high or the pot stayed on the burner too long. Lower the heat and pull the pot as soon as popping slows.
- Uneven coating: Sugar was added too late or not distributed. Add it with the kernels and give the pot a quick stir before covering.
- Chewy instead of crisp: Steam was trapped, or the popcorn was stored before cooling. Spread it out to cool fully.
- Many unpopped kernels: Old kernels or oil that was not hot enough. Test the oil with a few kernels before adding the full batch.
Flavor Variations Worth Trying
Once you have the base recipe down, the flavor possibilities are wide open. Try these ideas:
- Brown butter and sea salt: Drizzle a little browned butter over the finished popcorn and finish with flaky salt.
- Cinnamon sugar: Toss the warm popcorn with a mix of cinnamon and sugar for a cozy, dessert-like version.
- Spicy-sweet: Add a pinch of cayenne or chili powder to the salt for a sweet heat contrast.
- Vanilla or maple: A small amount of vanilla extract or maple sugar in the coating adds depth without overpowering the corn.
- Savory-herb: Skip the sugar and finish with rosemary, garlic powder, and parmesan for a savory snack.
When experimenting, keep the base ratio the same and add flavorings at the end, after popping, unless you are using a dry spice that can withstand the heat.
Storing Kettle Corn and Scaling Up
Storage
Homemade kettle corn is best eaten the same day. For short-term storage, keep it in an airtight container at room temperature for up to two or three days. If it softens, a few minutes in a low oven (around 250°F) can restore some crunch. Avoid refrigerating it, as the moisture will ruin the texture.
From home kitchen to concession
The stovetop method is ideal for home batches, but it has limits when you need volume. Making kettle corn for a crowd by hand becomes tiring quickly, and consistency gets harder as batch size grows. That is where purpose-built equipment makes a difference, and learning how to make kettle corn at home at scale starts with the right gear.
For anyone considering a kettle corn or lemonade concession business, a dedicated kettle corn machine offers faster popping, more even heat, and a consistent product batch after batch. At Kettle Corn Machine Company, we manufacture and sell kettle corn poppers, equipment, and accessories designed to help you build a successful concession business. Our aluminum kettle corn machines are built for both performance and appearance, offering a modern, high-performance alternative to traditional black kettles, and they are designed to put on a show for your customers. For a detailed overview of the options, see this complete guide to specialty popcorn equipment.
For years, we have helped hundreds of kettle corn businesses around the world get popping, from Japan, Guam, Australia, the Caribbean, and Nova Scotia to Europe, Mexico, Russia, and the USA. Our equipment is designed not only to produce delicious popcorn and our handmade Lemon Shakers but also to help you grow and thrive in the vending business. If you are moving from stovetop batches to a business, exploring the right equipment is a natural next step.
Conclusion
Homemade kettle corn on the stove top is one of the most rewarding snacks you can make in your own kitchen. With a heavy pot, a few simple ingredients, and attention to heat and timing, you can produce a fresh, crisp, sweet-and-salty batch in minutes. Start with the basic recipe, adjust the sugar and salt to your taste, and experiment with flavors once you are comfortable.
And if your hobby grows into something bigger, the same principles of heat, ratio, and timing apply on a commercial scale. Whether you are popping for family and friends or planning a concession venture, understanding the craft is the first step.
